Loading cart contents...

Tiny Camping Assembly Guide
Table of Contents
show the contents
Before You Begin
Here’s what you’ll need to assemble your Tiny Camping:
✅ Cutting board – Protects your table or workspace when cutting out the elements.
✅ Something straight with an edge (like a paint mixing stick) – Helps make folding easier and ensures sharp, clean folds.
✅ Scissors – For cutting connection points.
✅ Knife – Useful for cutting precise connection points.
✅ Tweezers (optional but helpful) – Makes handling small pieces easier.
⚠️ Important Notes Before Starting:
Bending the metal back and forth too much will break it. Follow the assembly order to avoid unnecessary bending.
Watch out for sharp edges. Some cut corners of the metal may be sharp, so handle with care.


Step 1: Pop Out All the Elements
All elements are pre-cut from a brass sheet. To remove them:
✨ Push firmly on the connection points to release the pieces.
✨ For smaller elements, use scissors or a knife to cut the connection points—this is often easier than pushing them out with your fingers.
Step 2: Assemble the Canoe
✨ Fold the small tabs on the sides of the canoe to a 90-degree angle. Use a straight-edged tool to help make clean folds. Repeat this for all four tabs.
✨ Fold both sides of the canoe upwards at a 90-degree angle, making sure they are aligned. Gently bend the bottom of the canoe upward to give it a slight curve.
✨ Push the pointed ends of the canoe together, sliding the small tabs underneath the bottom.
✨ Turn the canoe over and slide the slits into each other to lock them in place. Repeat on the other side, then add the paddles! 🚣


Step 3: Assemble the Tent
✨ Turn the tent around to see the three fold lines on the back. Start with one side and use a straight-edged tool to make a sharp 90-degree fold. Repeat for the other two fold lines.
✨ Push the small tab through the slit, then fold it over to lock it in place.
✨ Your tent is ready! ⛺✨


Step 4: Assemble the Hammock
✨ Gently bend the hammock to create a slight curve. Bend both ends slightly in the opposite direction.
✨ Take one support stick and push the small tab through the hole in the hammock. Bend the tab to secure it in place. Repeat on the other side.
✨ Your hammock is now ready! You can also hang it using thread, tying it between two plant stems for a floating effect. 🌿🌞
Step 5: Assemble the Campfire
✨ The campfire consists of three pieces—two with a slit at the bottom and one with a slit at the top.
✨ Fold each of the two bottom-slit pieces at a 90° angle along the middle.
✨ Align the slits and slide them together so the folded piece stands perpendicular to the third piece. Repeat the process with the second folded piece to form a cross shape.
✨ Now you have a 3D campfire! 🔥🏕️


Step 6: Arrange Your Tiny Camping Scene
Now it’s time to bring everything together!
✨ The bird has a sharp beak—you can poke it into a stem for a fun effect
✨ Thread a small piece of string through the binoculars and tie a knot so you can hang them anywhere you like! 🔭✨
✨ Place the elements in your plant however you like—set up the tent and hammock, arrange the canoe and campfire, and position the binoculars, guitar, and coffee maker to complete the scene.
These might interest you
-
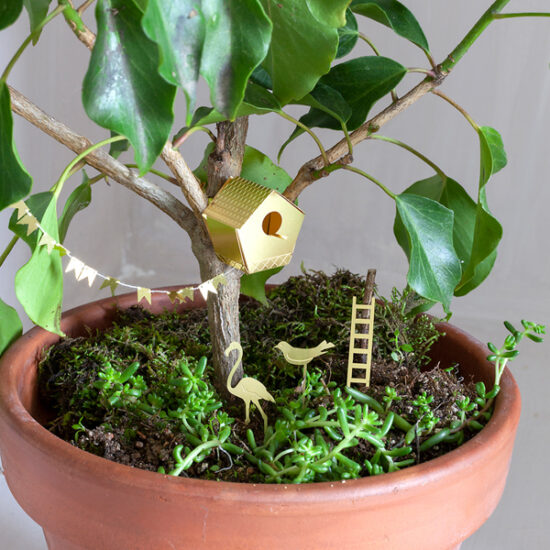
![Tiny birdhouse by Botanopia]()
![Tiny birdhouse by Botanopia]() US$10.00
US$10.00 -
![A tiny treehouse for your plants, by Botanopia]()
![A tiny treehouse for your plants, by Botanopia]() US$18.50
US$18.50 -
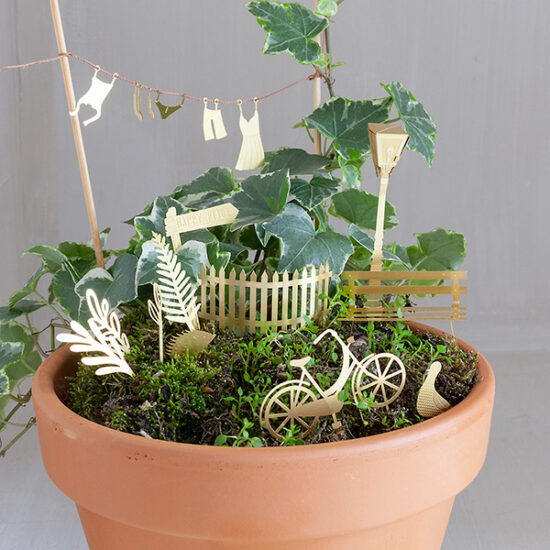
![A tiny bike adventure in your plants, by Botanopia]()
![A tiny bike adventure in your plants, by Botanopia]() US$21.00
US$21.00 -
![A tiny camping adventure in your plants, by Botanopia]()
![A tiny camping adventure in your plants, by Botanopia]() US$21.00
US$21.00