Tiny Birdhouse Assembly Guide
Before You Begin
Here’s what you’ll need to assemble your Tiny Birdhouse:
✅ Cutting board – Protects your table or workspace when cutting out the elements.
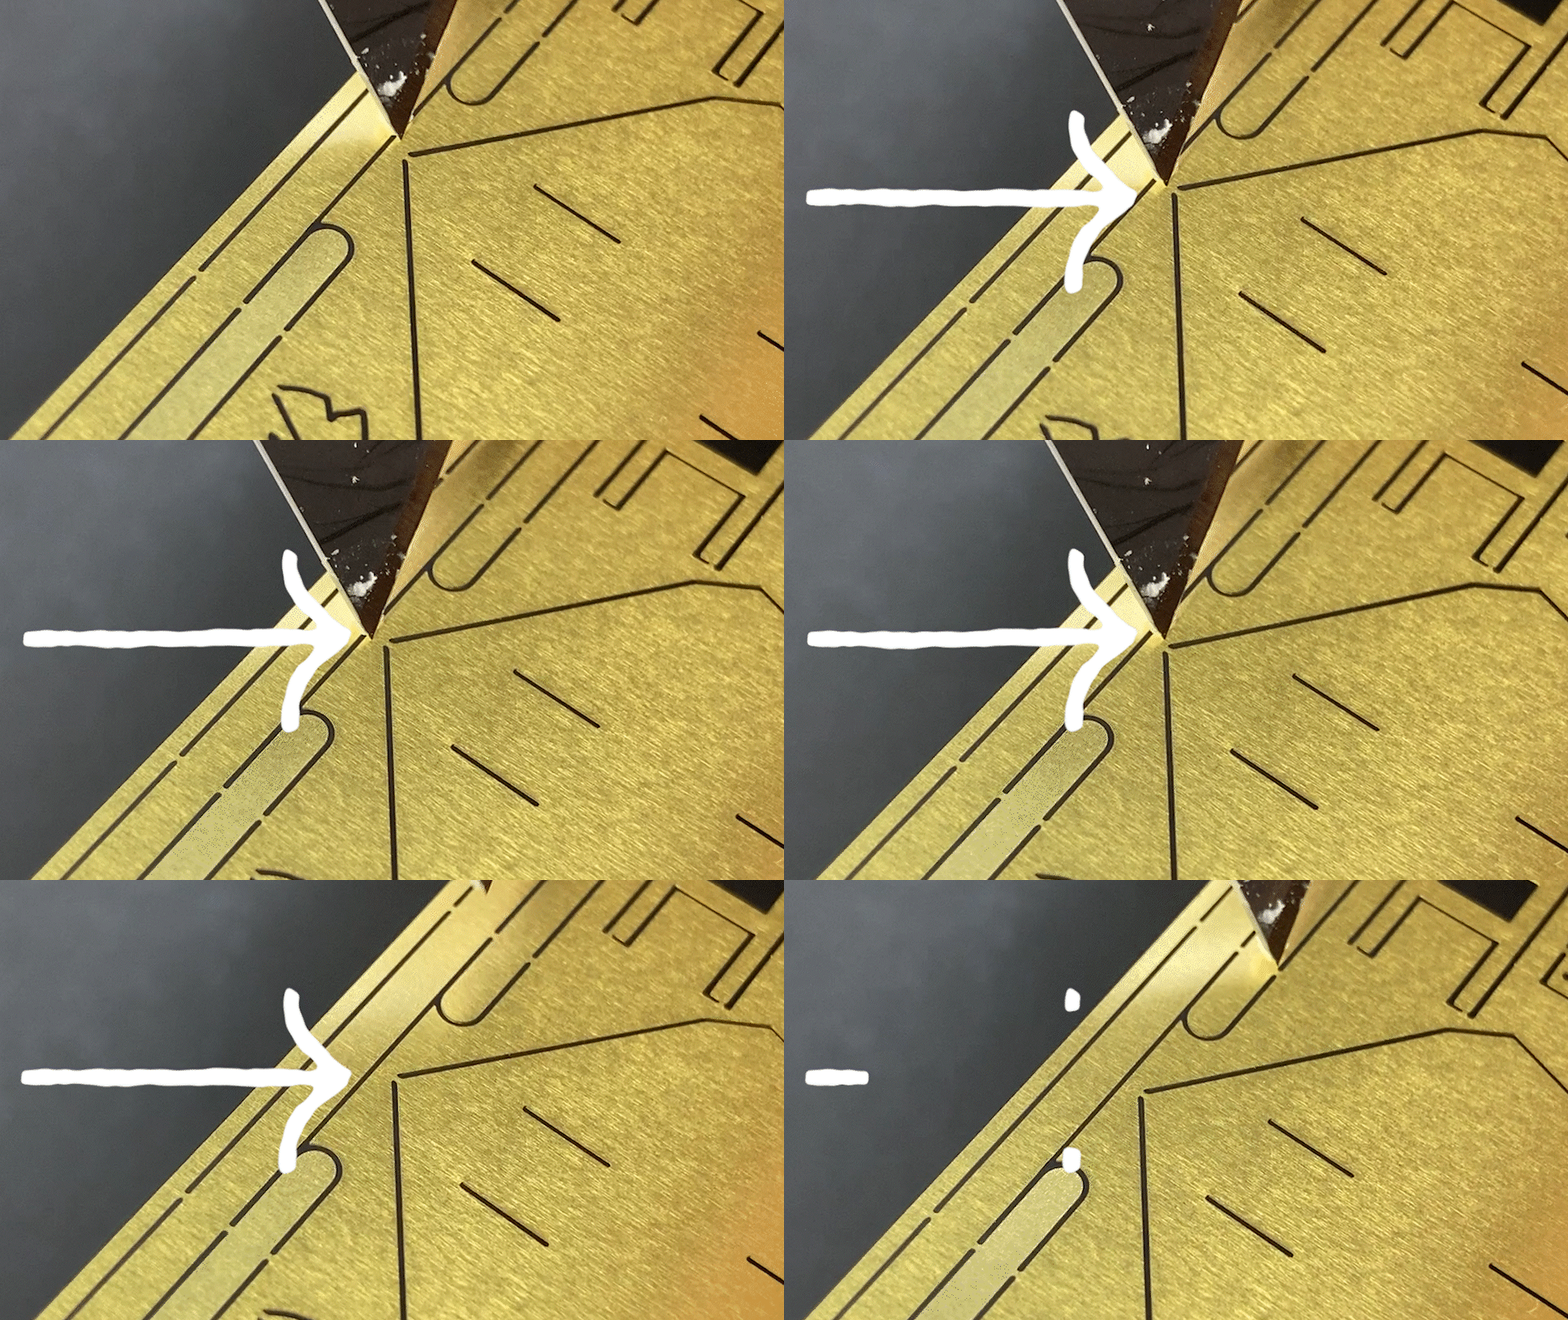
✅ Something straight with an edge (like a paint mixing stick) – Helps make folding easier and ensures sharp, clean folds.
✅ Scissors – For cutting connection points.
✅ Knife – Useful for cutting precise connection points.
✅ Tweezers (optional but helpful) – Makes handling small pieces easier.
Step 4: Assemble the House
Now, let’s build the structure!
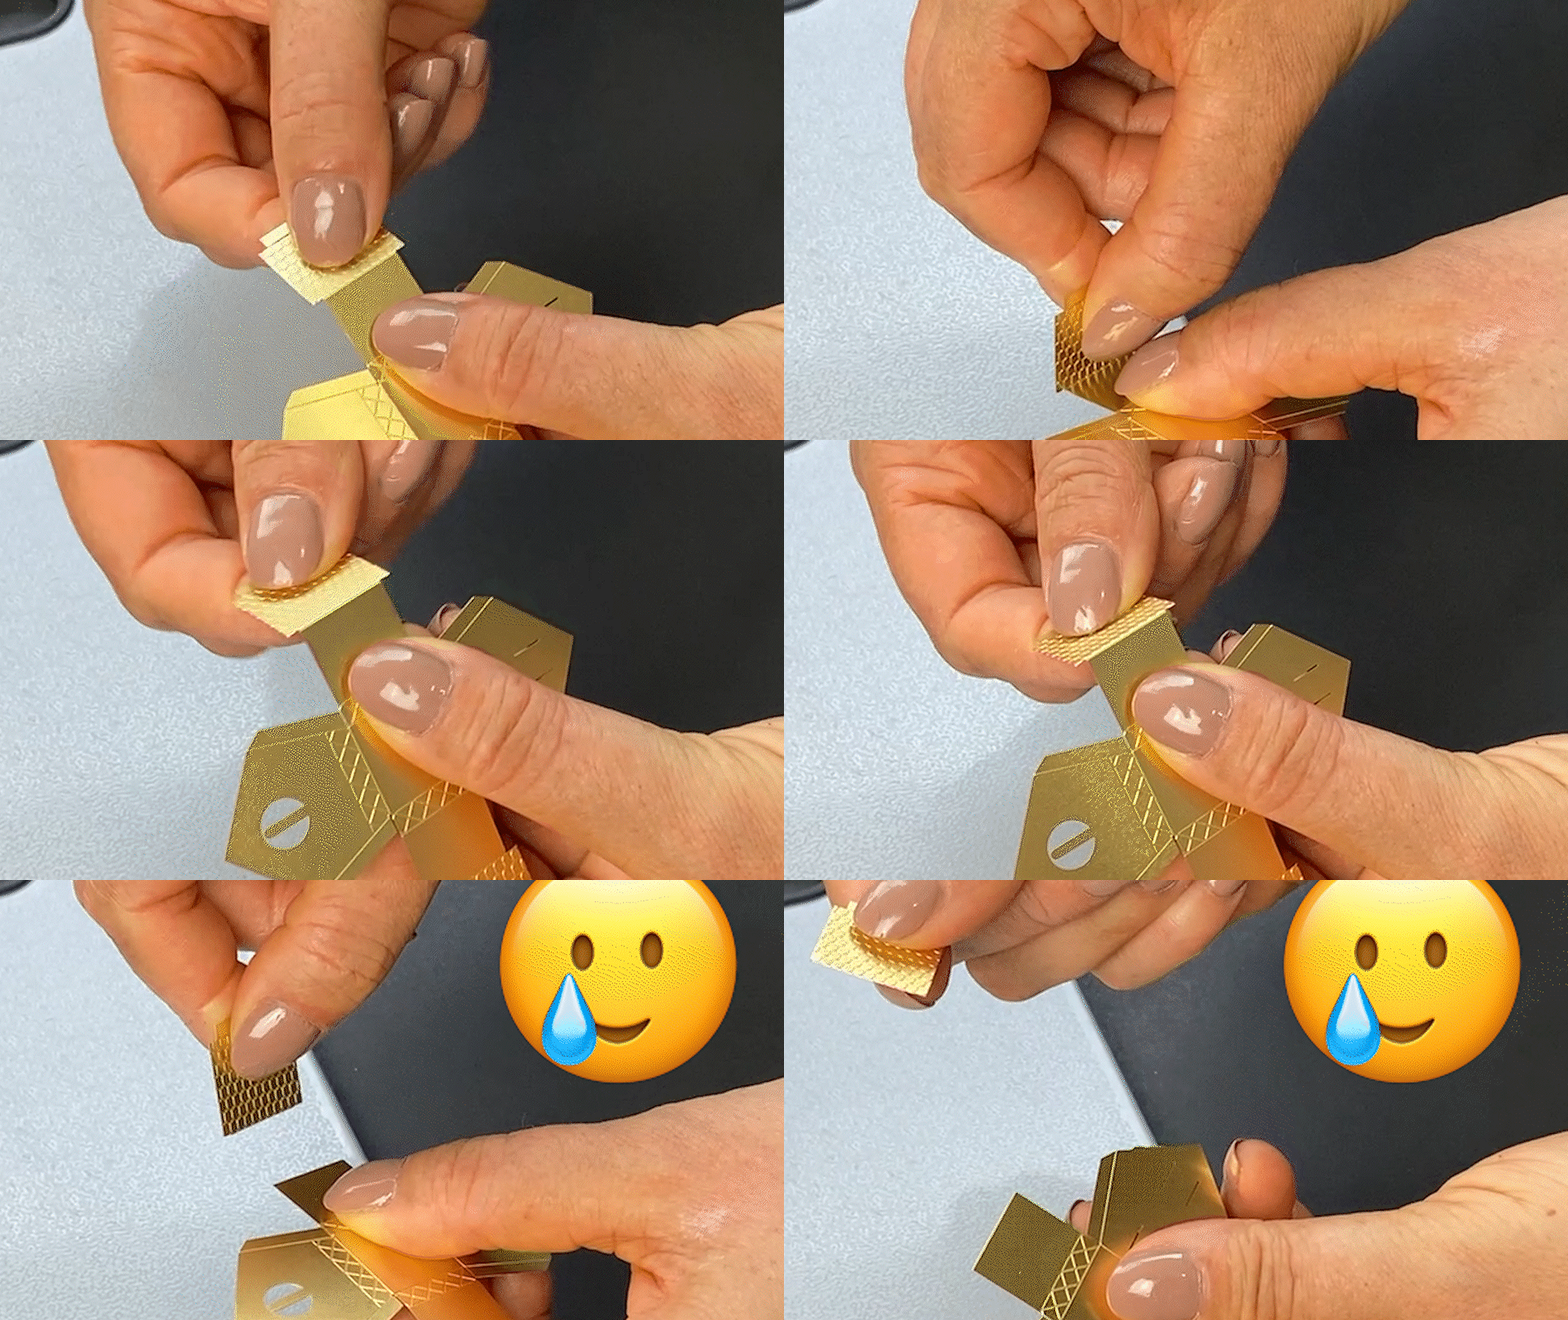
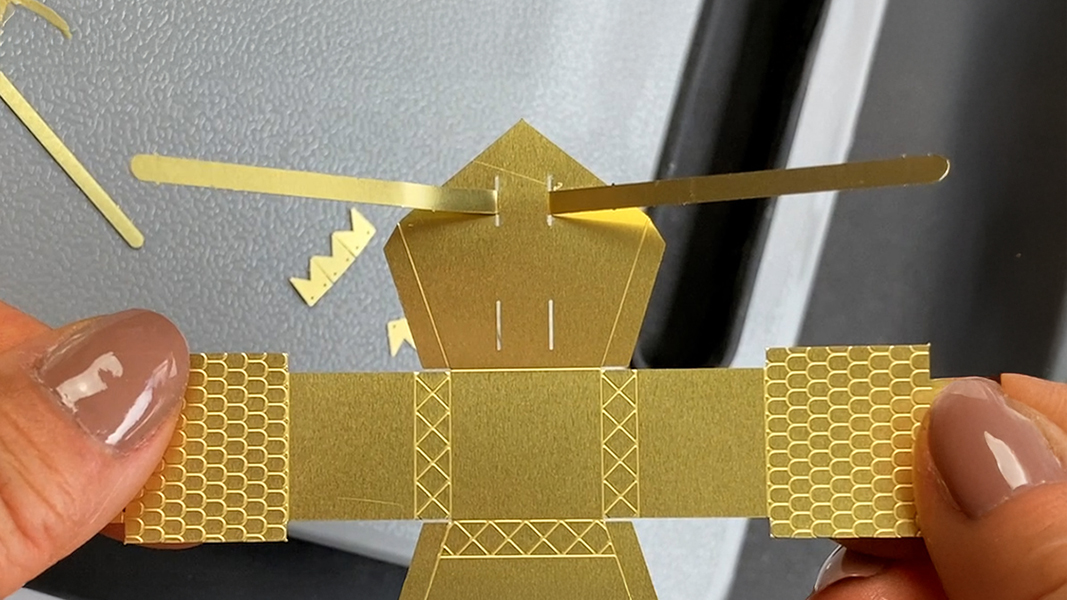
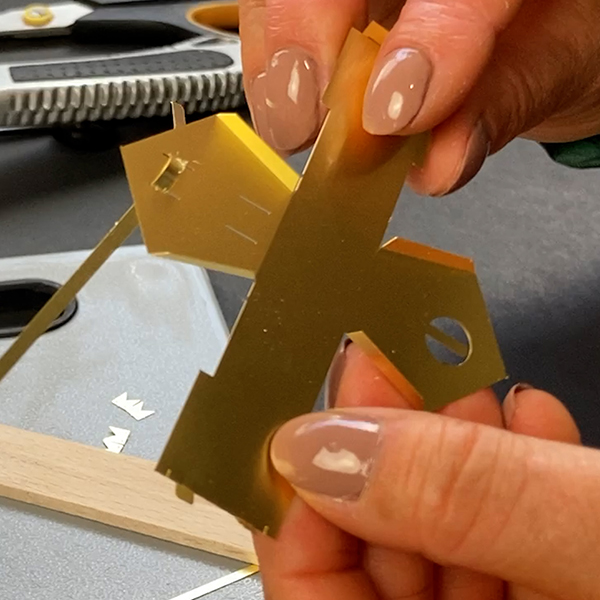
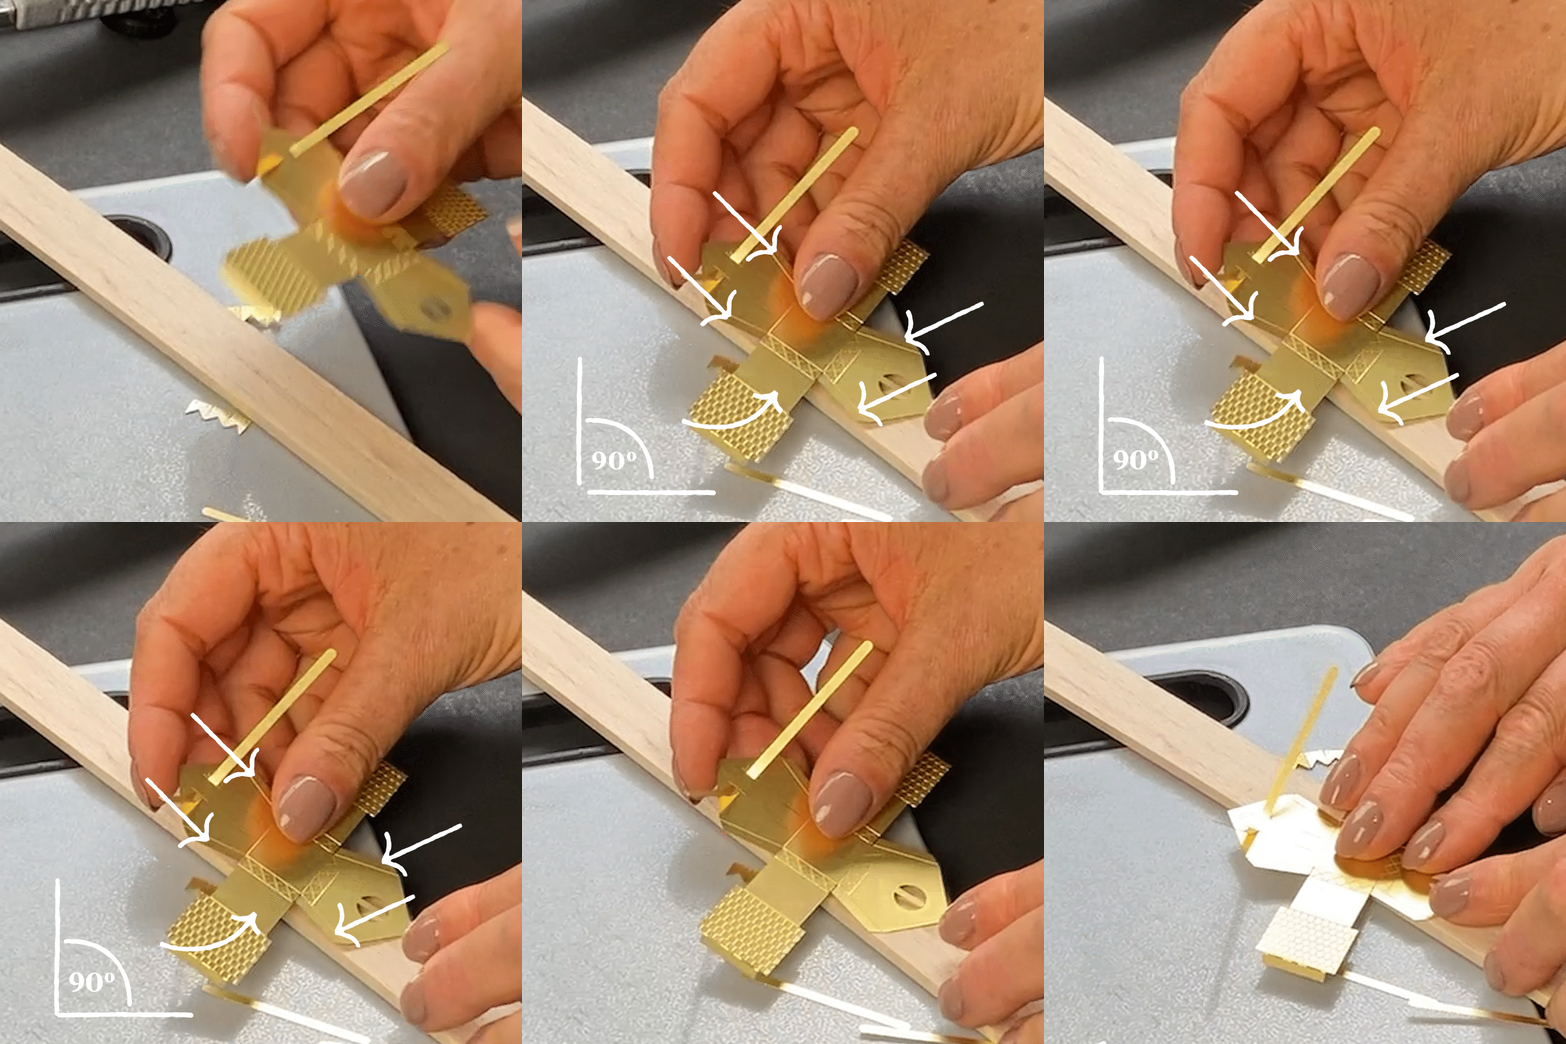
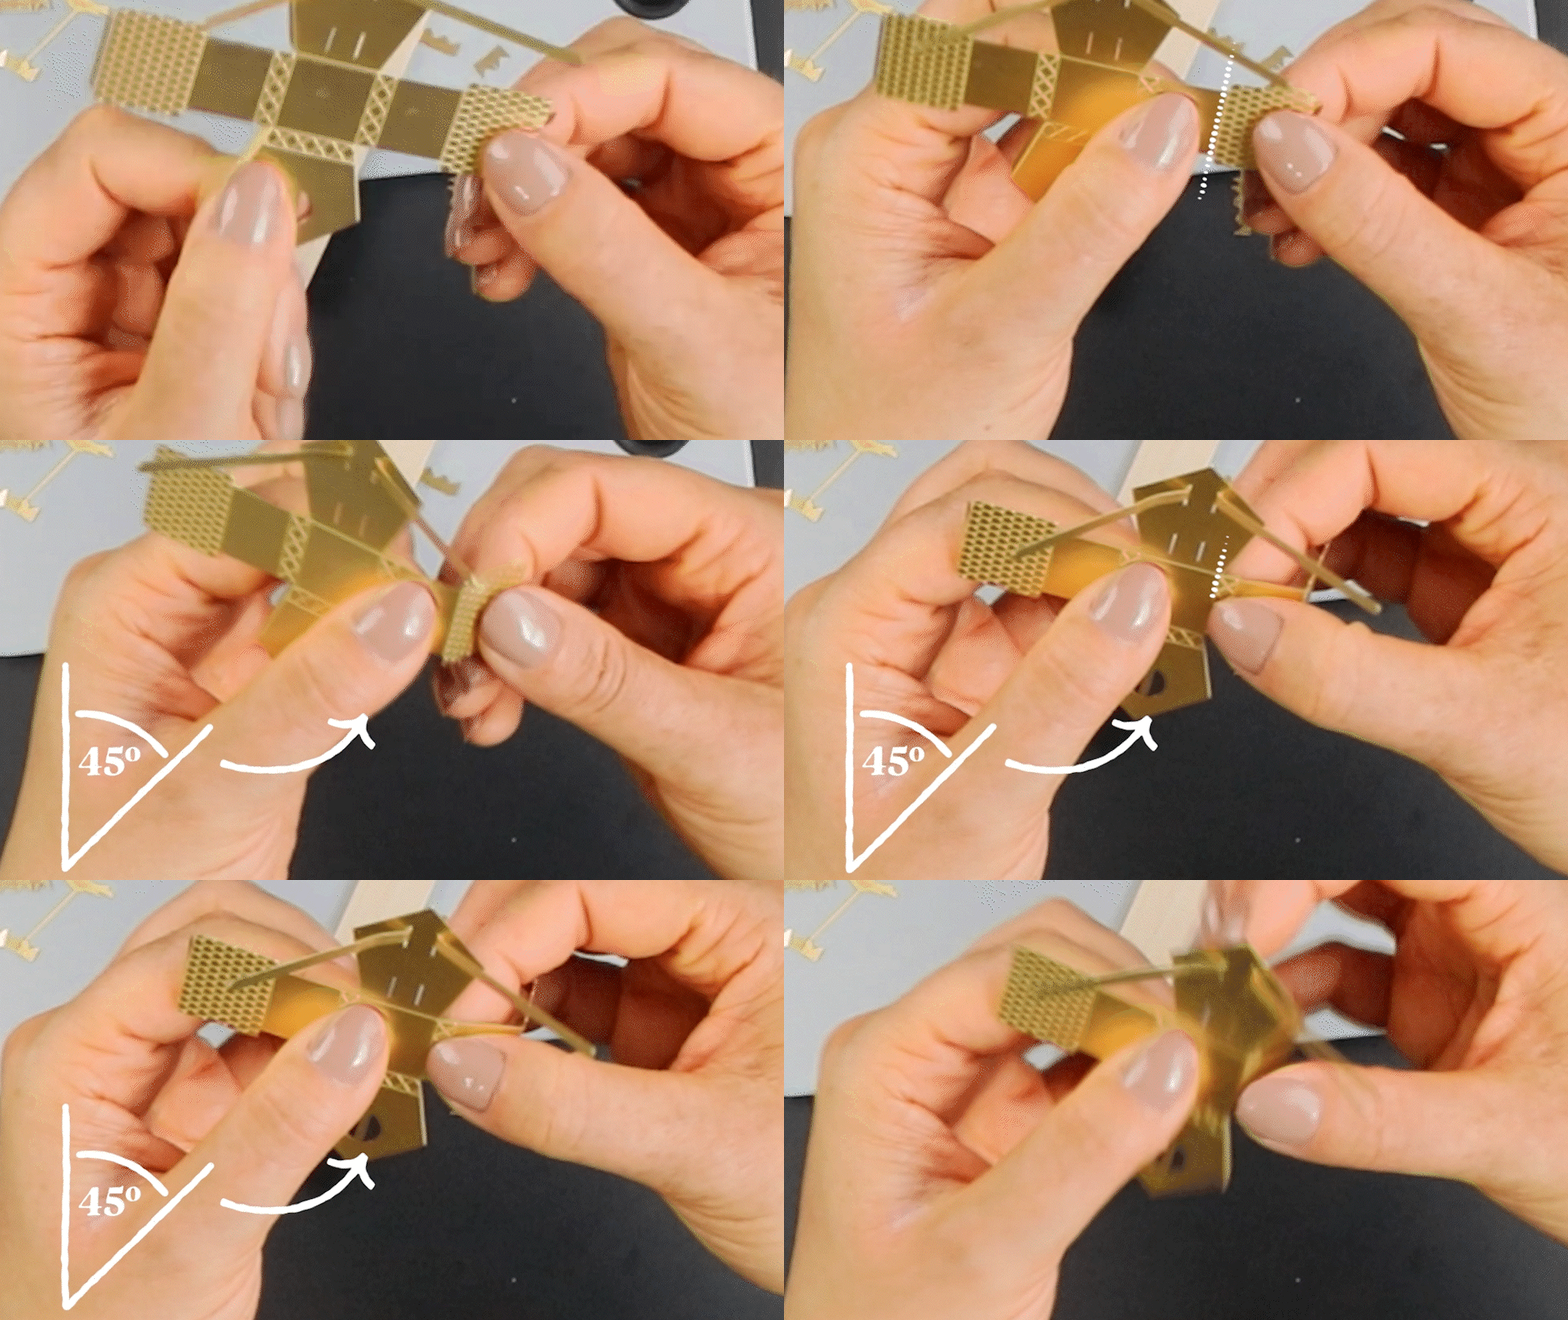
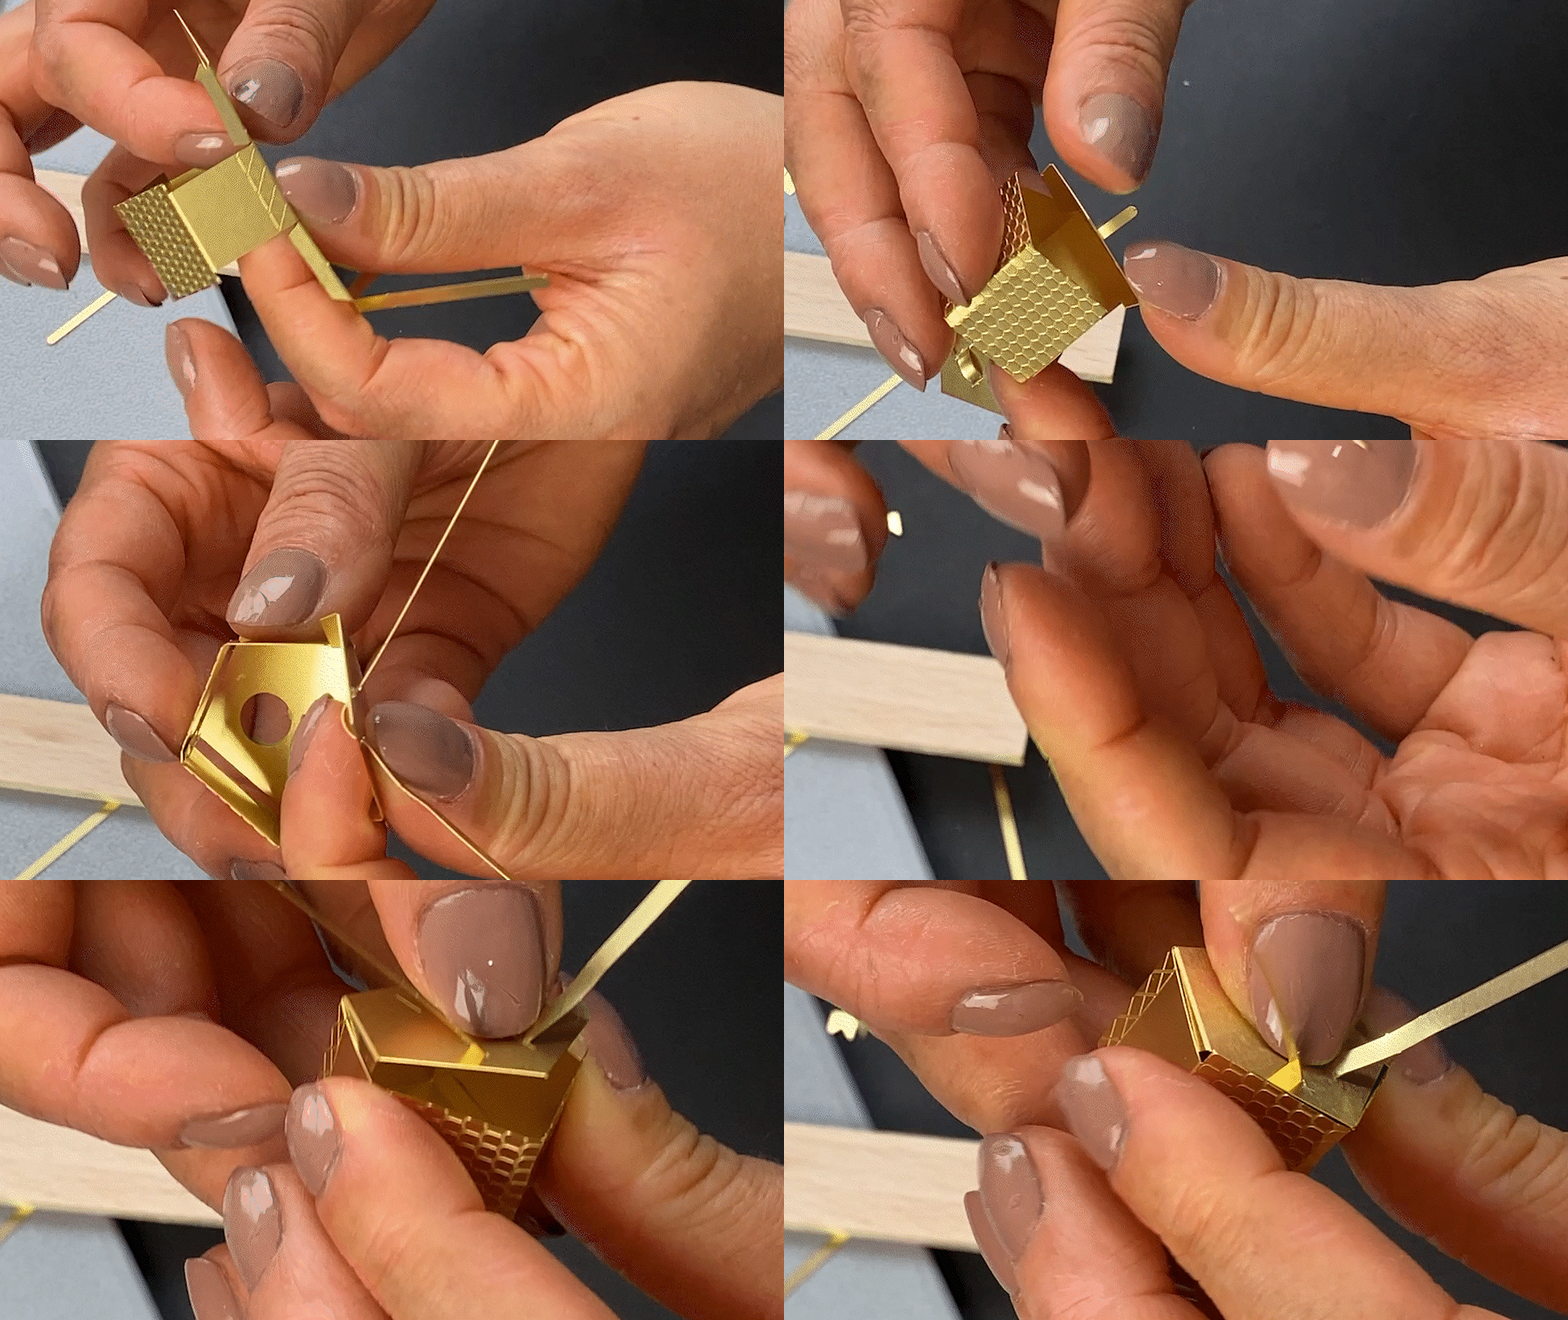
✨ Start on one side, first folding the roof at a 45-degree angle, then folding the wall at a 90-degree angle. keeping the reliefed (design) side facing you, and folding everything towards the back.
✨ Repeat the exact same process on the other side.
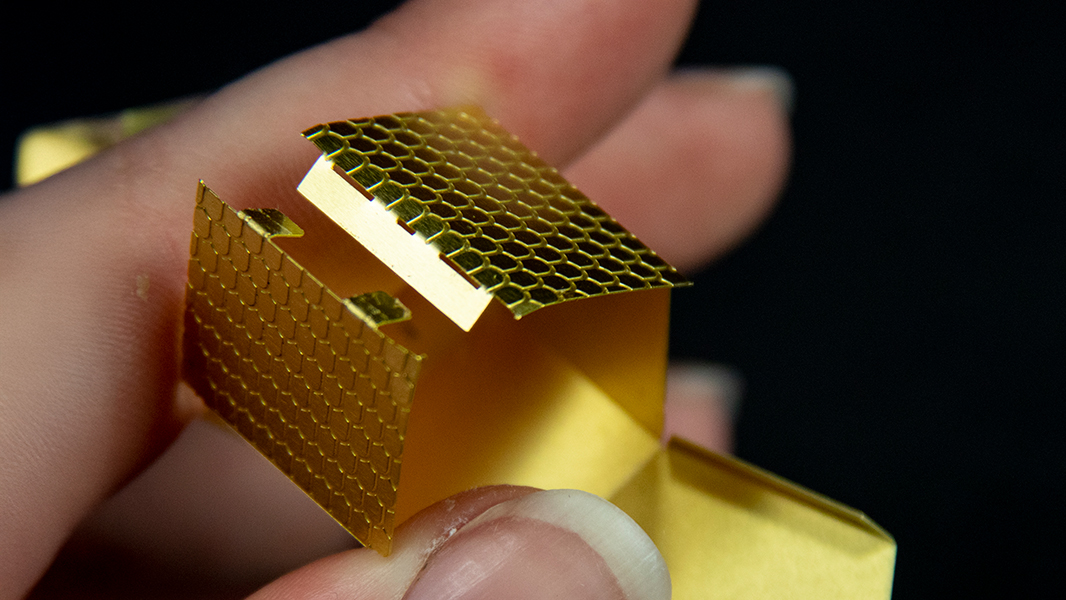
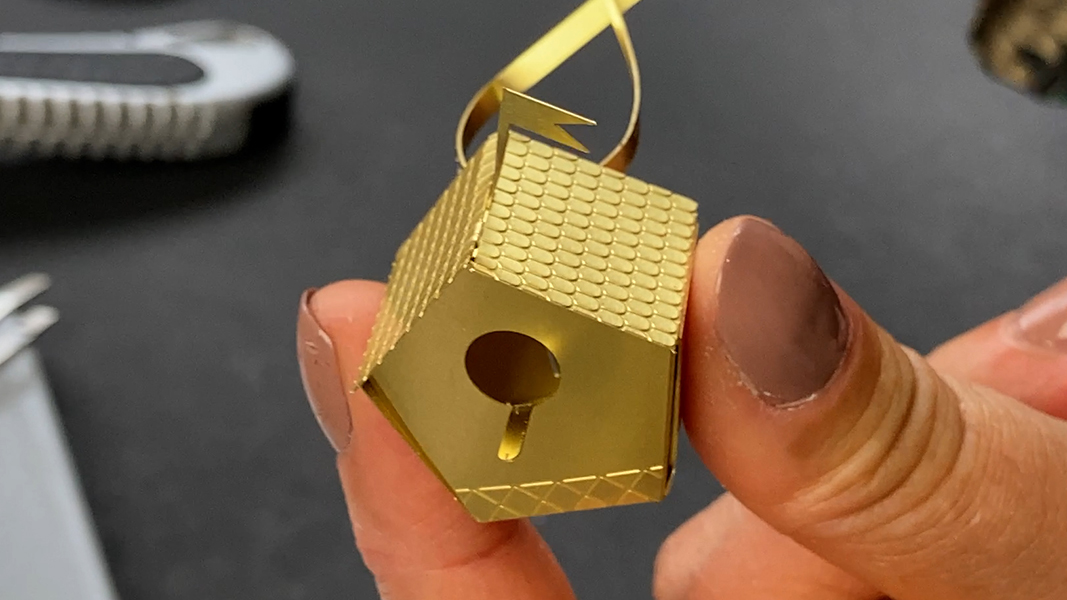
✨ Once folded, you’ll start seeing the house shape forming. The securing step happens on the roof—push the small tabs through the corresponding slits on the roof.
✨ Fold the tabs on the inside of the tiny house to lock everything in place.
💡 Tip: Use tweezers to press down the tabs securely inside the house.
Step 6: Add the Flag and Assemble the Flag Line
✨ Insert the little flag into the middle slit on the roof.
✨ To create the flag line, leave all the little flags together (do not separate them yet—this will make your life easier!). Thread the string through the tiny holes in the flags.
✨ Once the string is through all the flags, gently separate them to space them out.
Step 7: Attach the Birdhouse to Your Plants and Bring It to Life
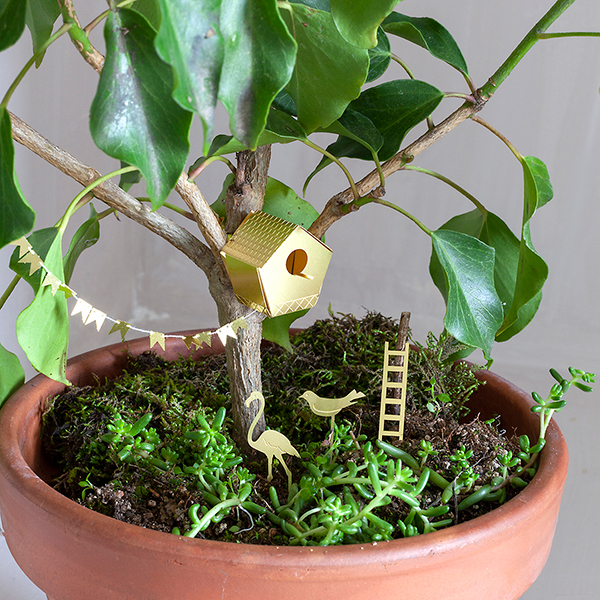
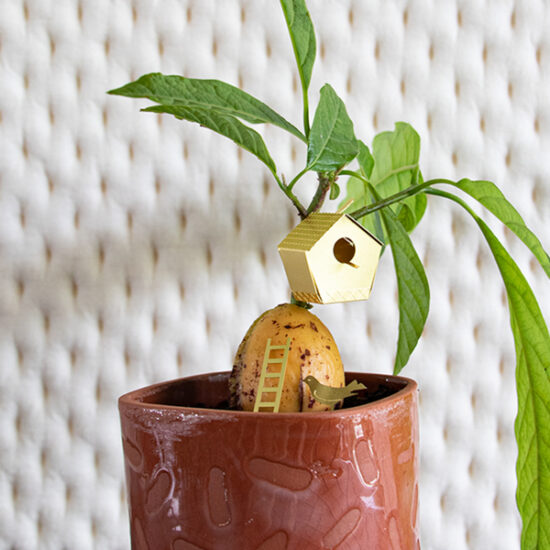
✨ Wrap the long tie around a plant stem and twist it securely.
✨ Adjust as needed—your birdhouse is now ready to add a whimsical touch to your plants!
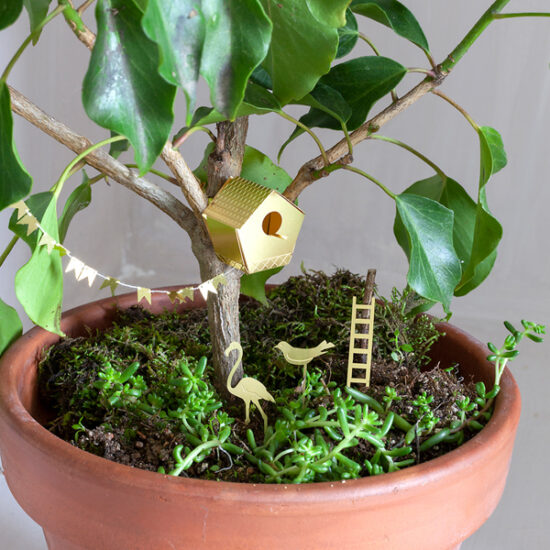
🎉 The final touch! Step back and admire your handcrafted Tiny Birdhouse, complete with its ladder, flag line, and little bird friends, bringing a playful charm to your greenery.
These might interest you
-
Out of stockUS$10.00
-
Out of stockUS$18.50
-
US$21.00
-
Out of stockUS$21.00

