Loading cart contents...

Tiny Birdhouse Assembly Guide
Table of Contents
show the contents
Before You Begin
Here’s what you’ll need to assemble your Tiny Birdhouse:
✅ Cutting board – Protects your table or workspace when cutting out the elements.
✅ Something straight with an edge (like a paint mixing stick) – Helps make folding easier and ensures sharp, clean folds.
✅ Scissors – For cutting connection points.
✅ Knife – Useful for cutting precise connection points.
✅ Tweezers (optional but helpful) – Makes handling small pieces easier.
⚠️ Important Notes Before Starting:
Bending the metal back and forth too much will break it. Follow the assembly order to avoid unnecessary bending.
Watch out for sharp edges. Some cut corners of the metal may be sharp, so handle with care.


Step 1: Pop Out All the Elements
All elements are pre-cut from a brass sheet. To remove them:
✨ Push firmly on the connection points to release the pieces.
✨ For smaller elements, use scissors or a knife to cut the connection points—this is often easier than pushing them out with your fingers.
Step 2: Attach the Tie
✨ Insert the long tie through the slits at the back of the birdhouse. Push it from the reliefed side to the back, then thread it through the other slit to return to the reliefed side.
✨ Leave it there for now—we’ll use this to attach your finished birdhouse to your plant.

Step 3: Fold the Tabs
✨ Use the edge of something straight (a paint mixing stick) to help make the folds sharper and easier.
✨ Fold all tabs inwards—the tabs on the roof and the sides of the front and back of the tiny birdhouse. This will lock the pieces together later.


Step 4: Assemble the House
Now, let’s build the structure!
✨ Start on one side, first folding the roof at a 45-degree angle, then folding the wall at a 90-degree angle. keeping the reliefed (design) side facing you, and folding everything towards the back.
✨ Repeat the exact same process on the other side.
✨ Once folded, you’ll start seeing the house shape forming. The securing step happens on the roof—push the small tabs through the corresponding slits on the roof.
✨ Fold the tabs on the inside of the tiny house to lock everything in place.
💡 Tip: Use tweezers to press down the tabs securely inside the house.


Step 5: Finish the House Structure
✨ Before finishing the structure, gently push out the tiny bird perch. It’s easier to do this now than later.
✨ Fold the front and back walls inwards.
✨ Slide them under the roof to lock everything in place.
Step 6: Add the Flag and Assemble the Flag Line
✨ Insert the little flag into the middle slit on the roof.
✨ To create the flag line, leave all the little flags together (do not separate them yet—this will make your life easier!). Thread the string through the tiny holes in the flags.
✨ Once the string is through all the flags, gently separate them to space them out.


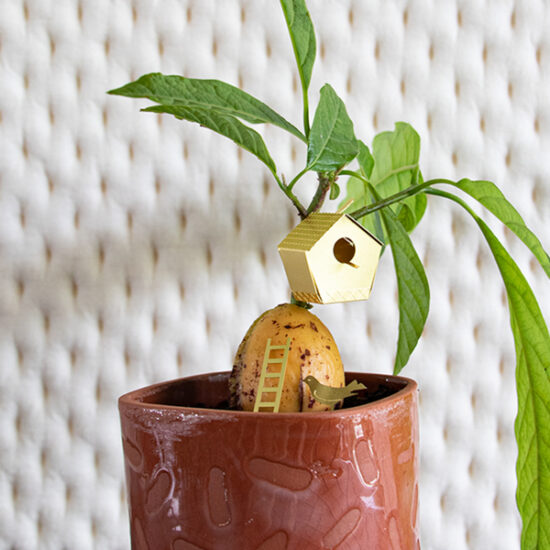
Step 7: Attach the Birdhouse to Your Plants and Bring It to Life
✨ Wrap the long tie around a plant stem and twist it securely.
✨ Adjust as needed—your birdhouse is now ready to add a whimsical touch to your plants!
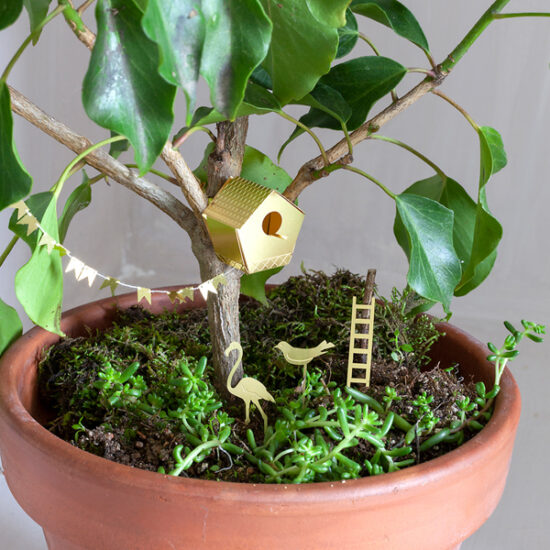
🎉 The final touch! Step back and admire your handcrafted Tiny Birdhouse, complete with its ladder, flag line, and little bird friends, bringing a playful charm to your greenery.


These might interest you
-
![Tiny birdhouse by Botanopia]()
![Tiny birdhouse by Botanopia]() US$10.00
US$10.00 -
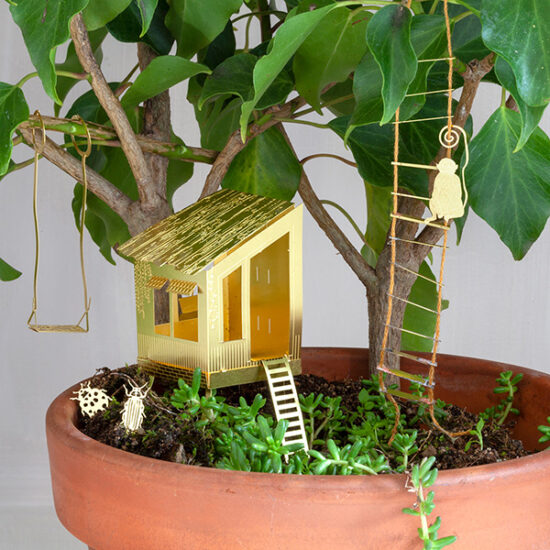
![A tiny treehouse for your plants, by Botanopia]()
![A tiny treehouse for your plants, by Botanopia]() US$18.50
US$18.50 -
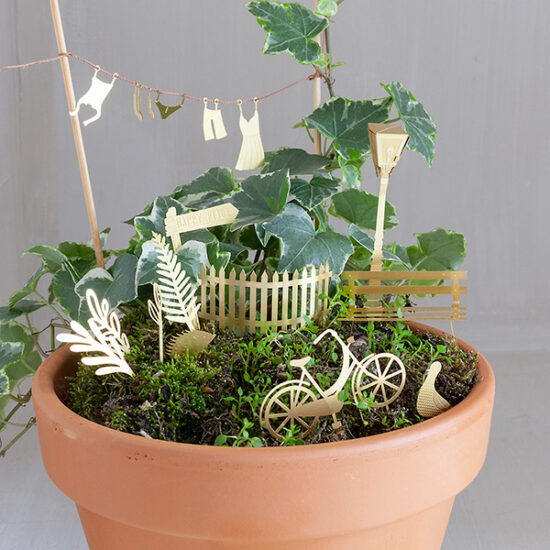
![A tiny bike adventure in your plants, by Botanopia]()
![A tiny bike adventure in your plants, by Botanopia]() US$21.00
US$21.00 -
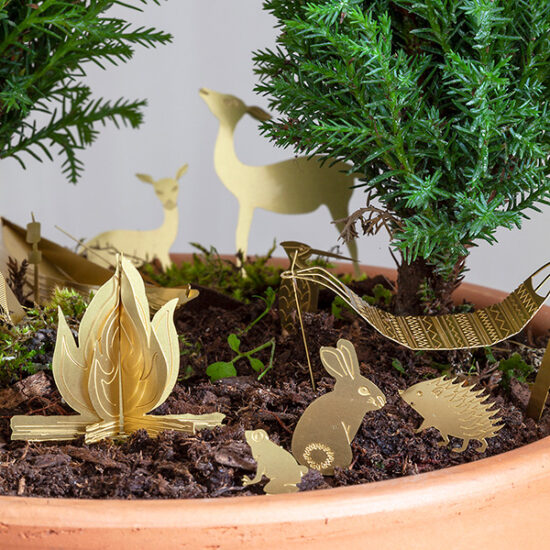
![A tiny camping adventure in your plants, by Botanopia]()
![A tiny camping adventure in your plants, by Botanopia]() US$21.00
US$21.00